
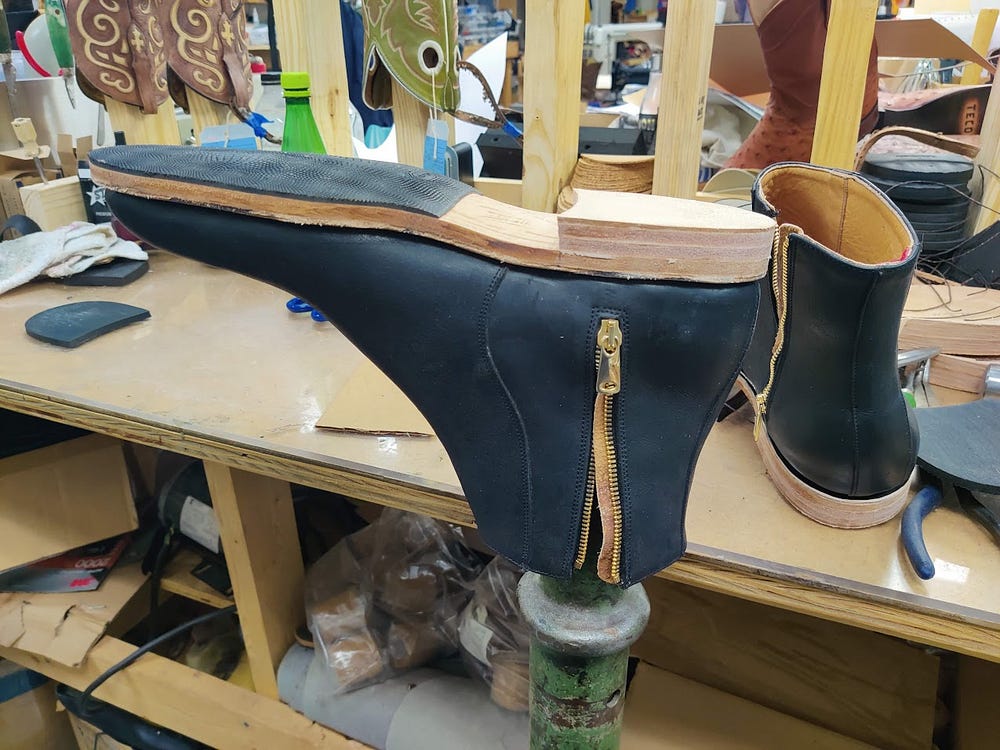
So for the past year or so a friend and I have been working on getting a small shoe brand up and running. I enjoy making shoes, but I don’t have the time of day to make them for everyone. We went down to Leon, Mexico and talked to a bunch of manufacturers and suppliers and got the ball rolling. It’s been a journey, we changed manufacturers, got a lot of samples made, and finally went in to production. Through the sample process, I discovered that my last had an issue. When the last factory was converting it from a shoe to a boot last, they added a bit too much volume in the instep area that extends up to make it a boot last. Not a problem so much if you work with lace up boots since you can just adjust the pattern and further adjust the volume with laces. It is a problem for a zip up boot however, you want it snug in the instep to hold the foot in place and there are no real ways to adjust this. The upper and everything else about the boot was great, so I decided to rebuild it on a last with the correct volume. It was also a convenient way to check on the build quality of the boots. My friend Chuck, who runs Tulsa Shoe Rebuilders, helped me tear down the boots so I can learn, and I documented the processes for you guys.
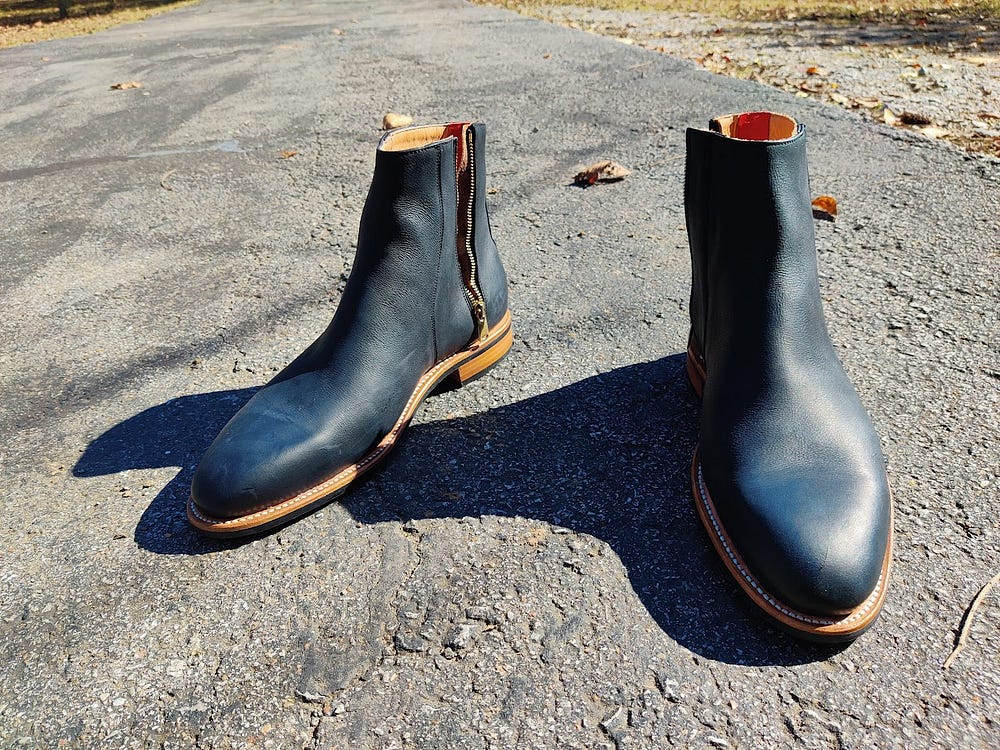
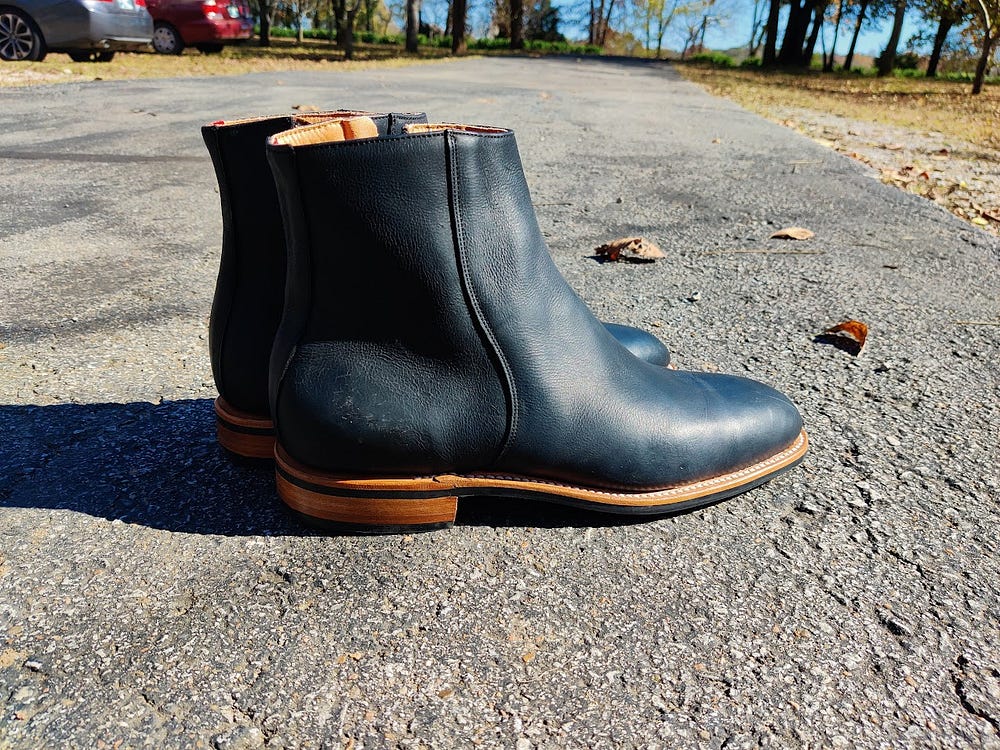
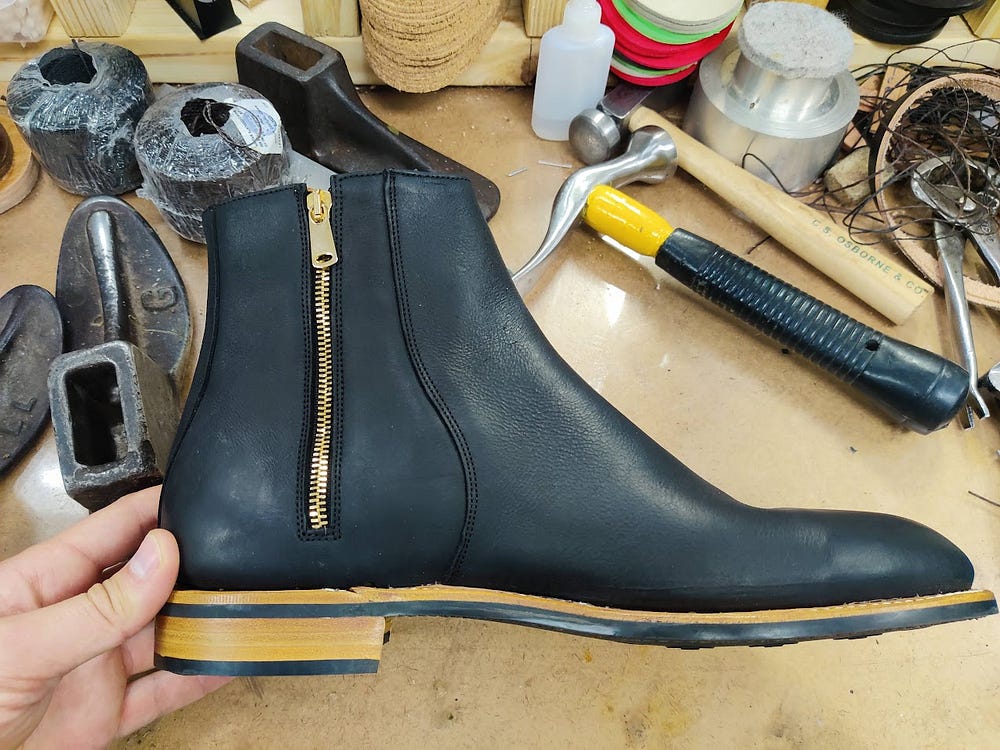
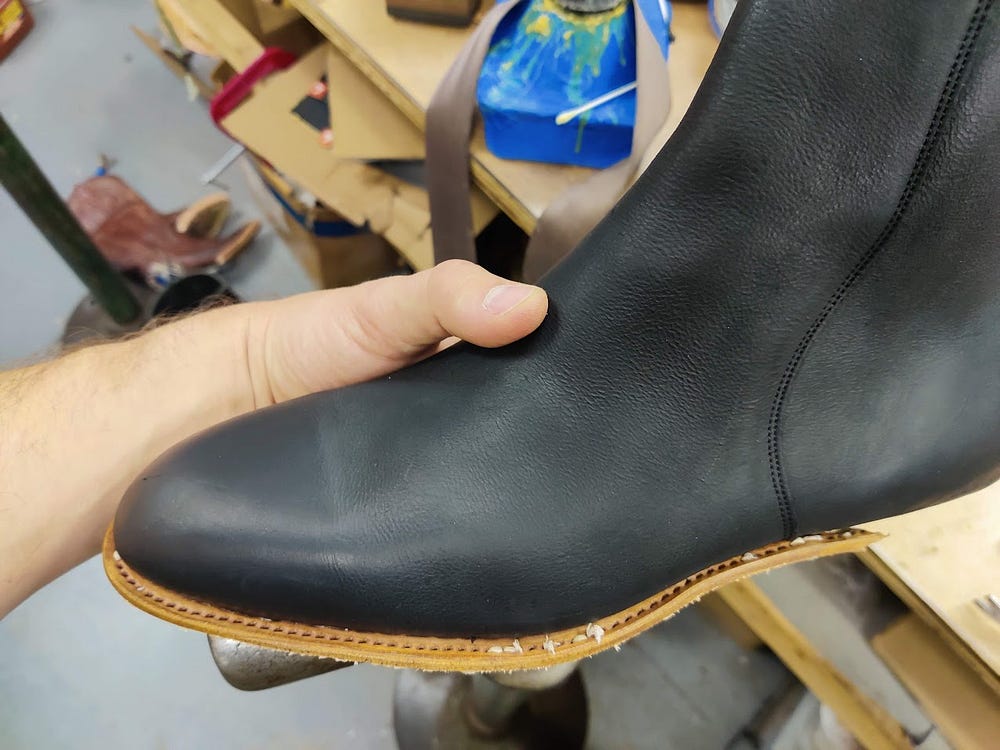
Here are some pics of the boot. This iteration uses Black Waxy Retan Kudu from C.F. Stead. This tannage and finish is basically my absolute favorite. It is thick, rugged, hard wearing, but still soft for ultimate comfort. It also ages beautifully. The skins are gathered from wild kudu that are hunted for meat, so it has a smaller environmental impact than hides from farmed animals.
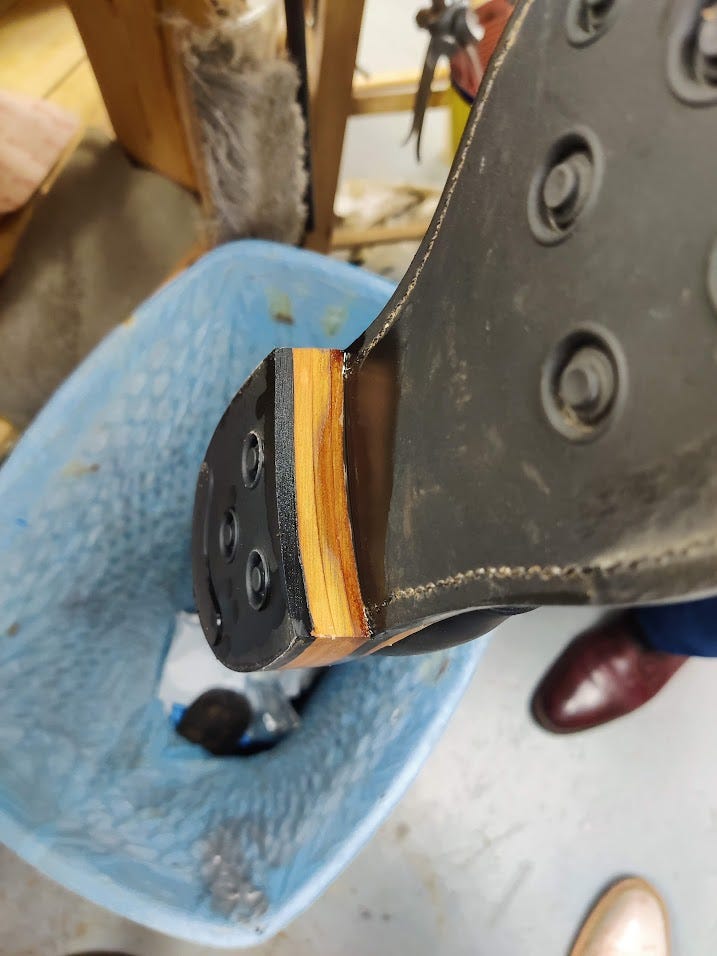
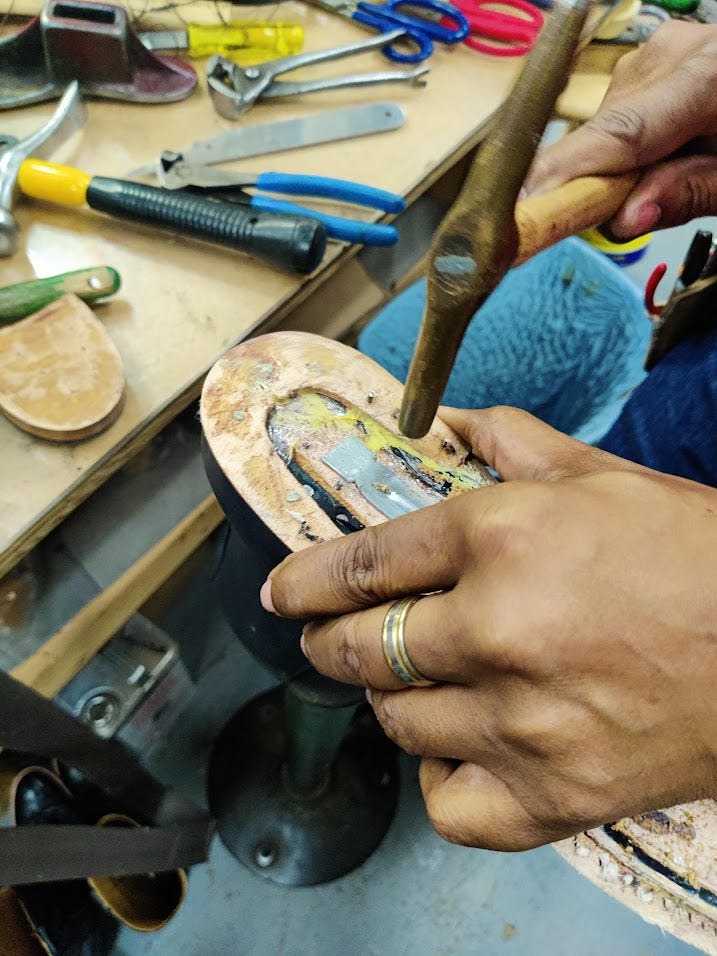
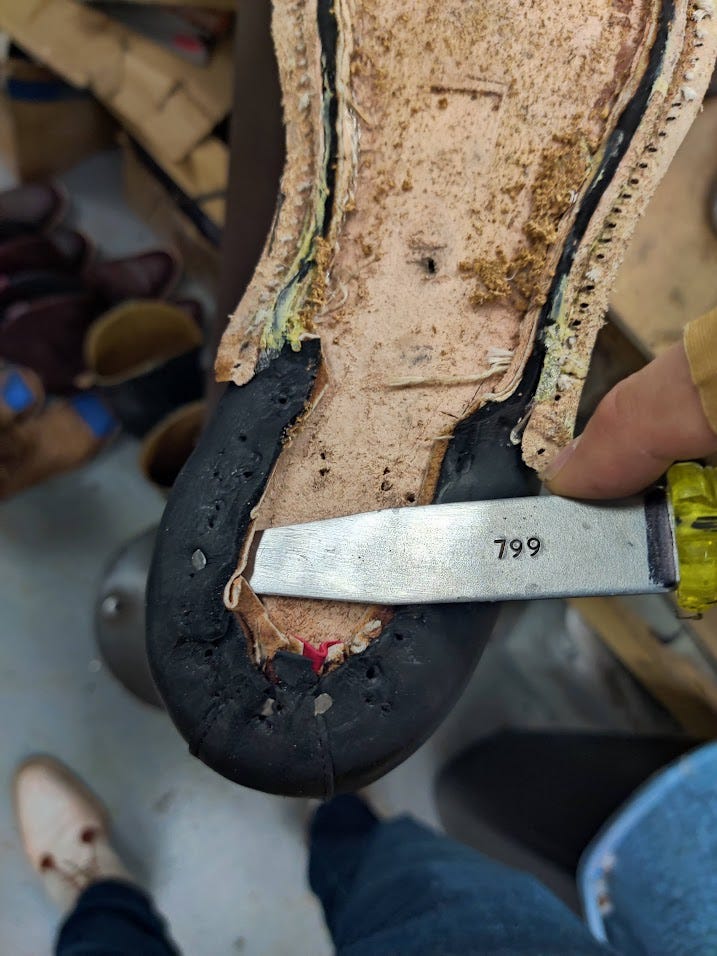
First step, get some thinner in the base of the heel and let it start working on the glue.

Heel pries are wonderful, and useful in a surprising number of applications. Here is one of them, to pry heels!

A strap holding down the boot onto the lasting stand really helps keep it stable. As you make some more space with the heel pry, don’t be shy with thinner!
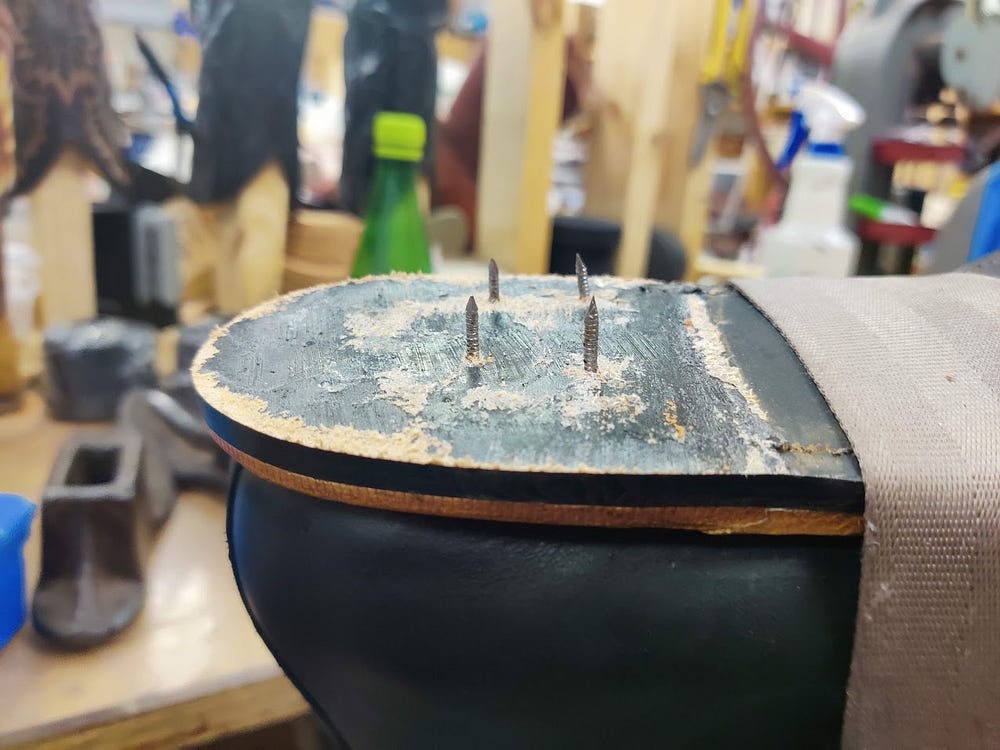
Threaded nails and glue holding the heel in place.

More thinner, letting it seep into the nail area. A bottle with a little hole in the cap is a great tool for dispensing thinner. A note, I just use general all purpose contact cement thinner, the same stuff I use when my glue gets a bit too thick. I think this brand is called Master’s. Barge and other brands would do the trick as well.
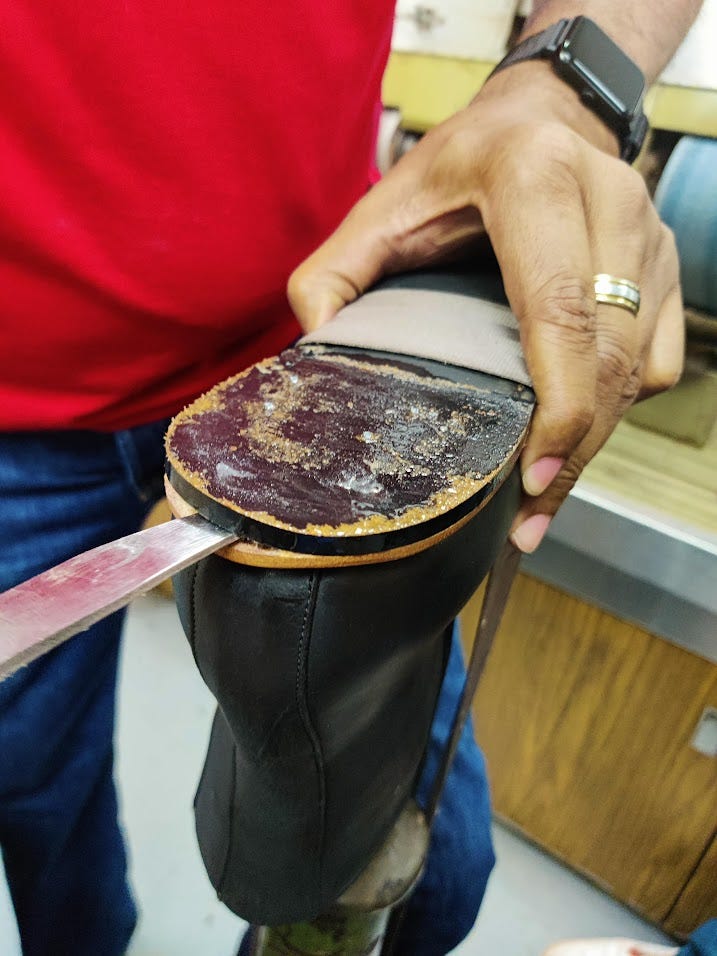
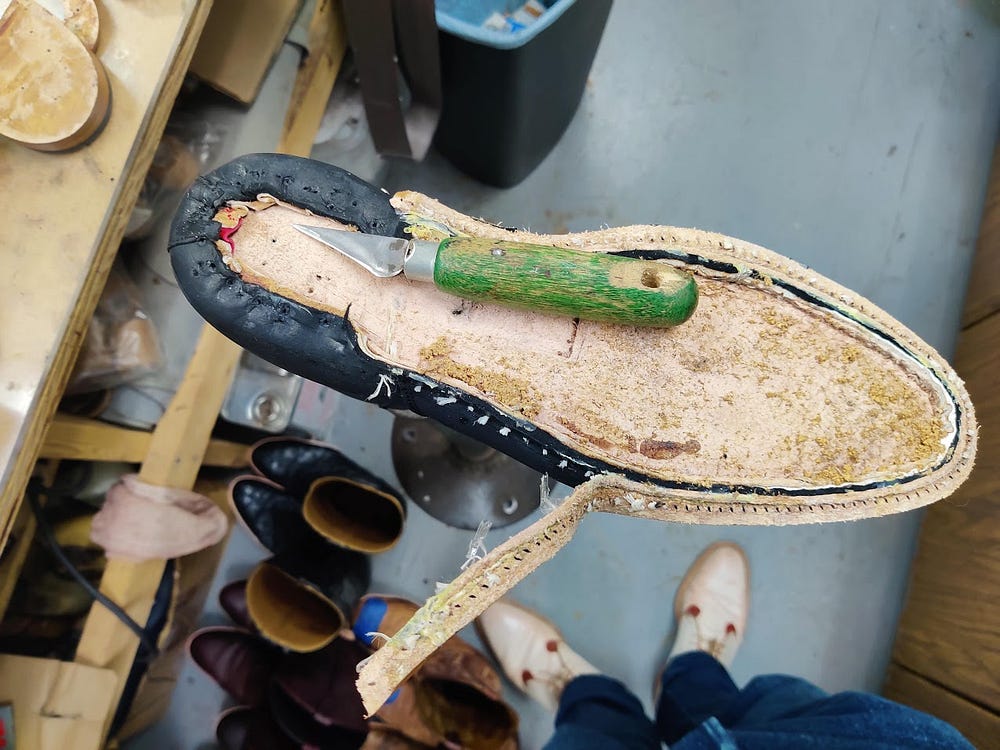
Heel pry coming in handy separating the rand from the sole, followed up with some pincers to peel it back.

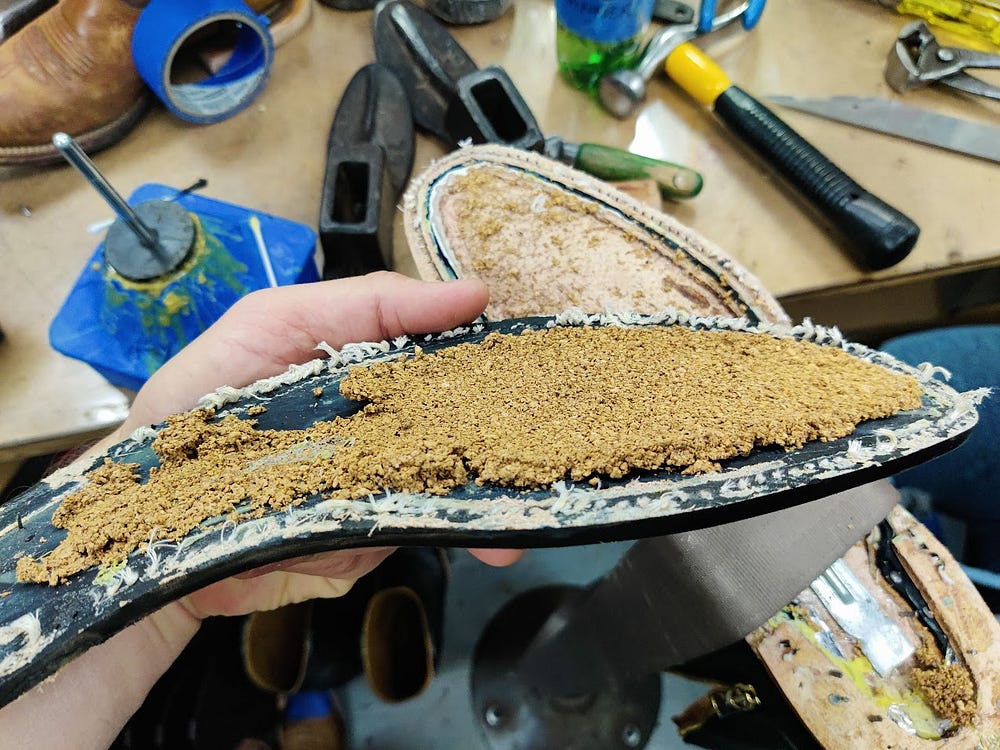
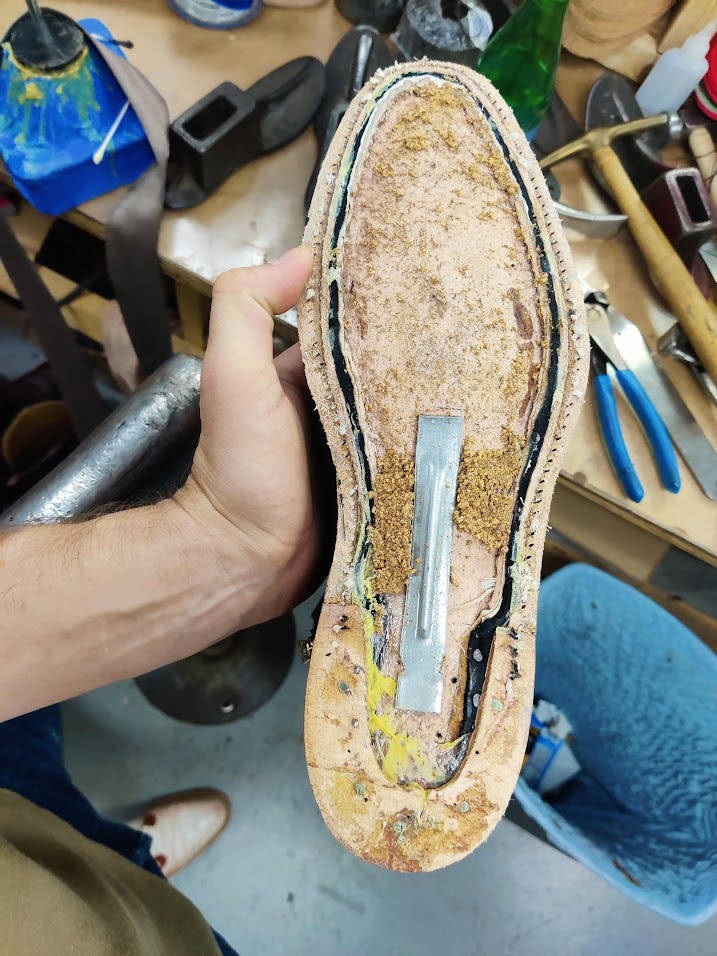
Good picture to see the guts of the shoe. Plenty of nails holding everything together in the heel area. You can also see where the shank is placed, and the cork filler. You can use the pincers to separate the sole from all the nails but once you get to the sole stitching you have to use a knife to cut the stitches.
Continue the processes until the sole completely separates from the shoe.
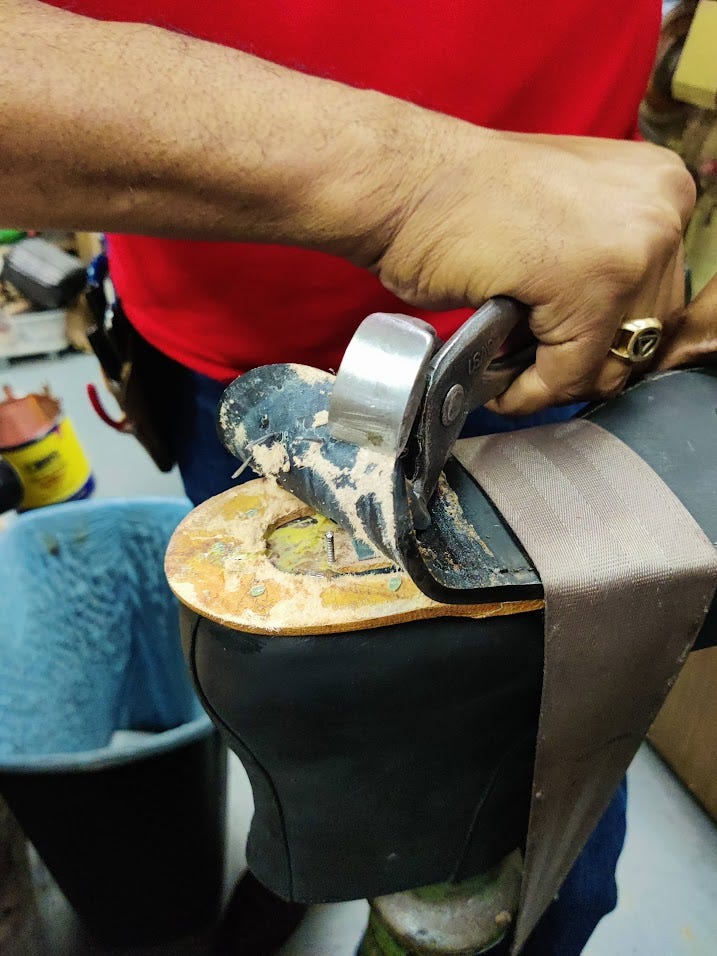
The nails get snipped here, then hammered with a tack hammer so you can pull them out of the insole more easily.
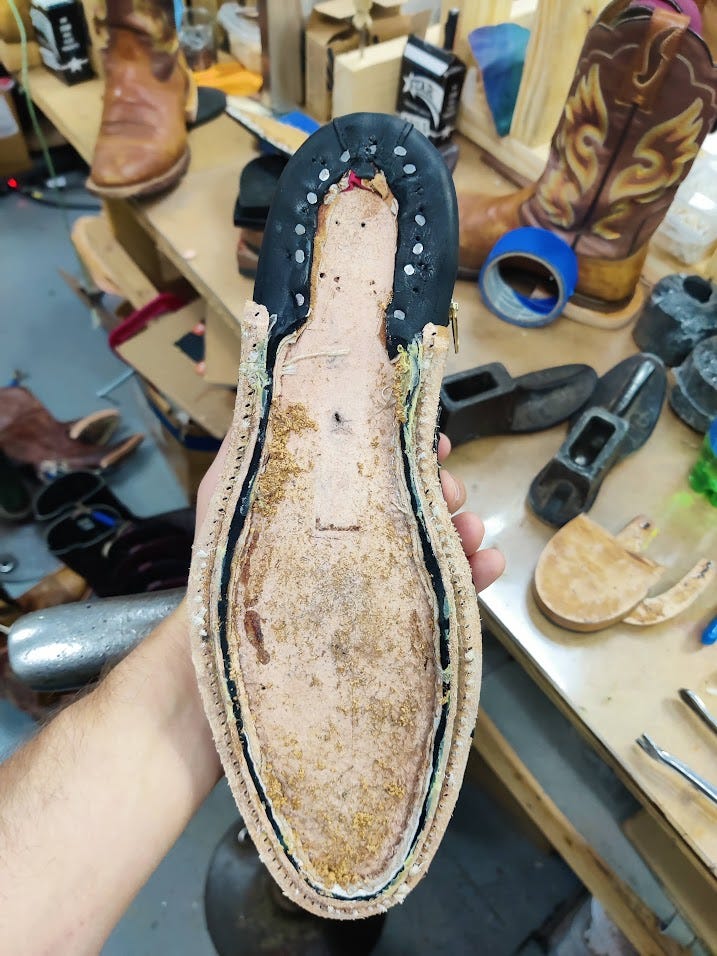
Here is what a torn down boot looks like. At this stage, if you were doing a resole you’d just refill the cork, slap a new sole on it, stitch and nail it in place, then reattach the heel and finish the edges. Easy! But I am doing a full rebuild, so we press on!
I didn’t include pictures on removing the rand, but the general idea is using the heel pry to loosen up the nails a bit, then pull them out with pincers. Same goes with the nails attaching the upper to the insole in the heel area.
Next, you very carefully cut the threads that attach the welt to the insole. It’s very difficult to do on the insole side, so I came in between the upper and welt, pulling the welt back and cutting carefully so as not to damage the upper.
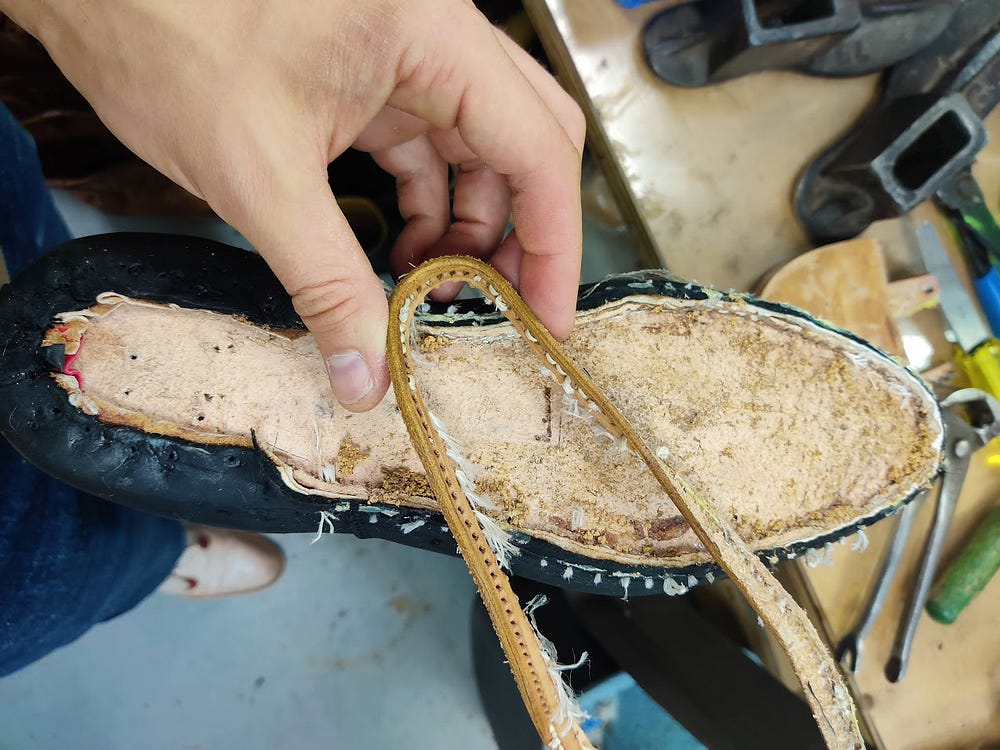
Welt fully removed. I like the thickness and density of it, should last a long time if your cobbler does a good job at getting the stitches to line up during a resole. Most decent cobblers should be able to, if you select the right stitch length and line it up reasonably well at the start, the awl on the stitcher will slip right into the old holes and it should be good to go. I’m going to put in a plug here for Chuck and Tulsa Shoe Rebuilders, they do a damn good job at not butchering the welt on resoles, and they take mail in orders on rebuilds. They can also rewelt if your welt was damaged by another cobbler.
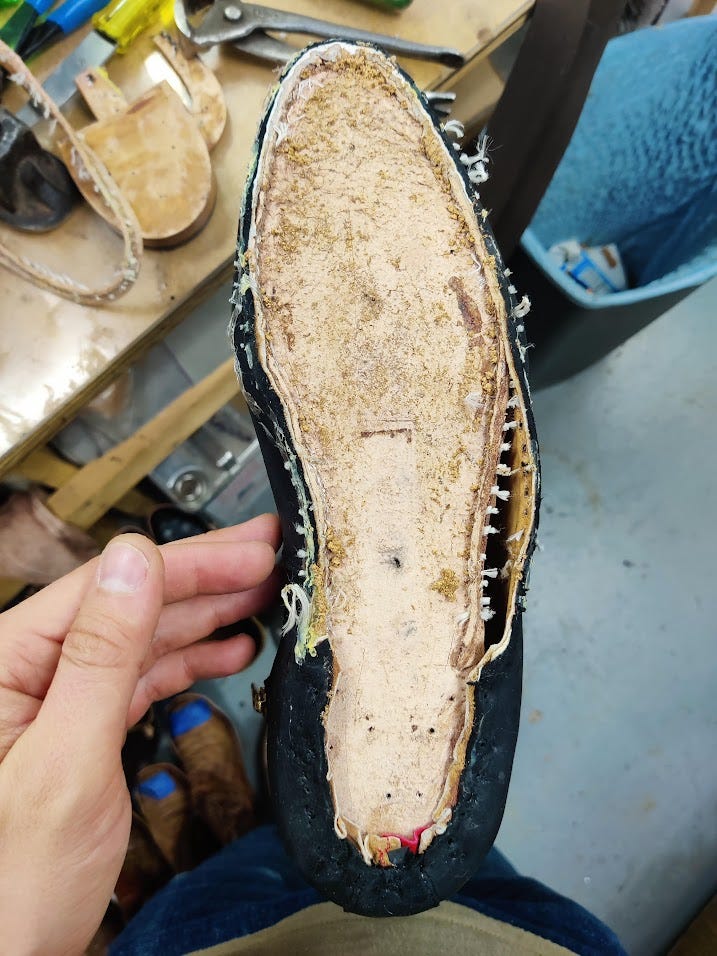
Nothing holding the insole in place at this point.
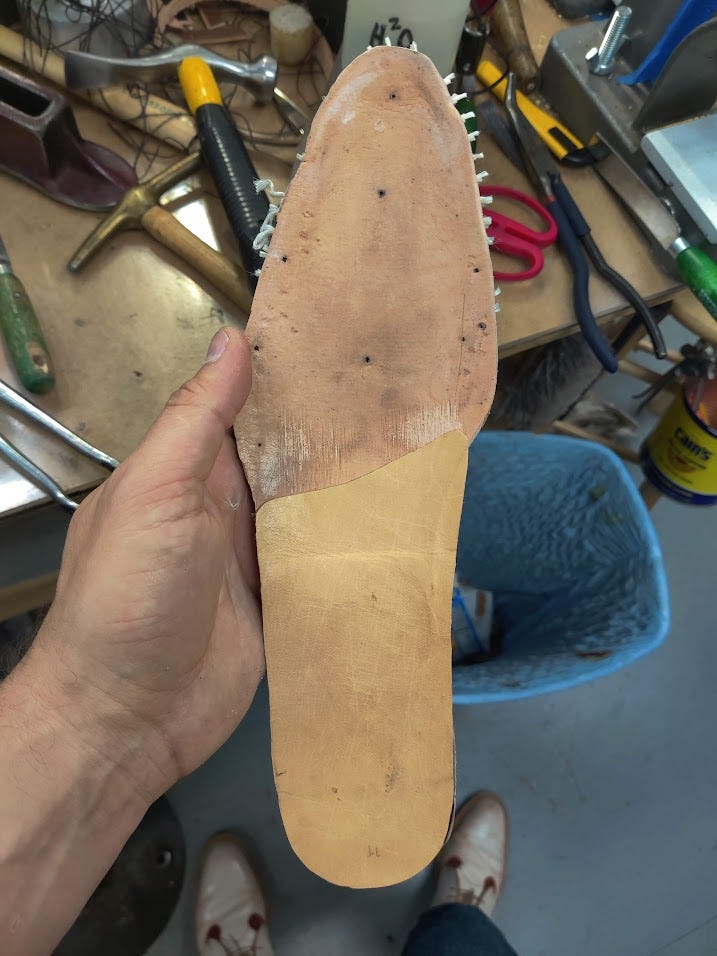
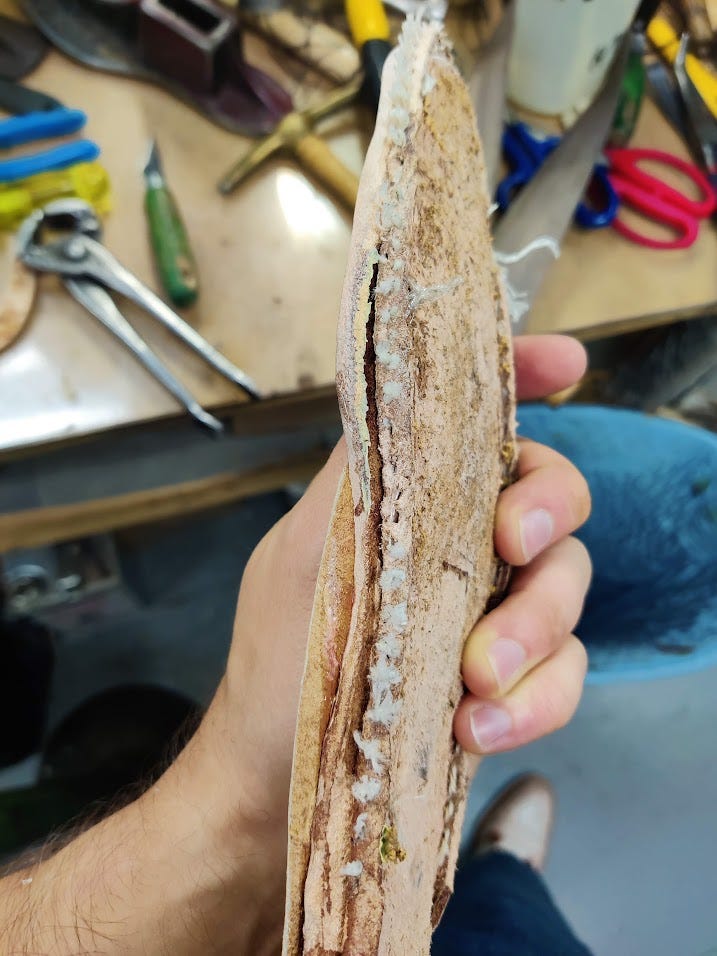
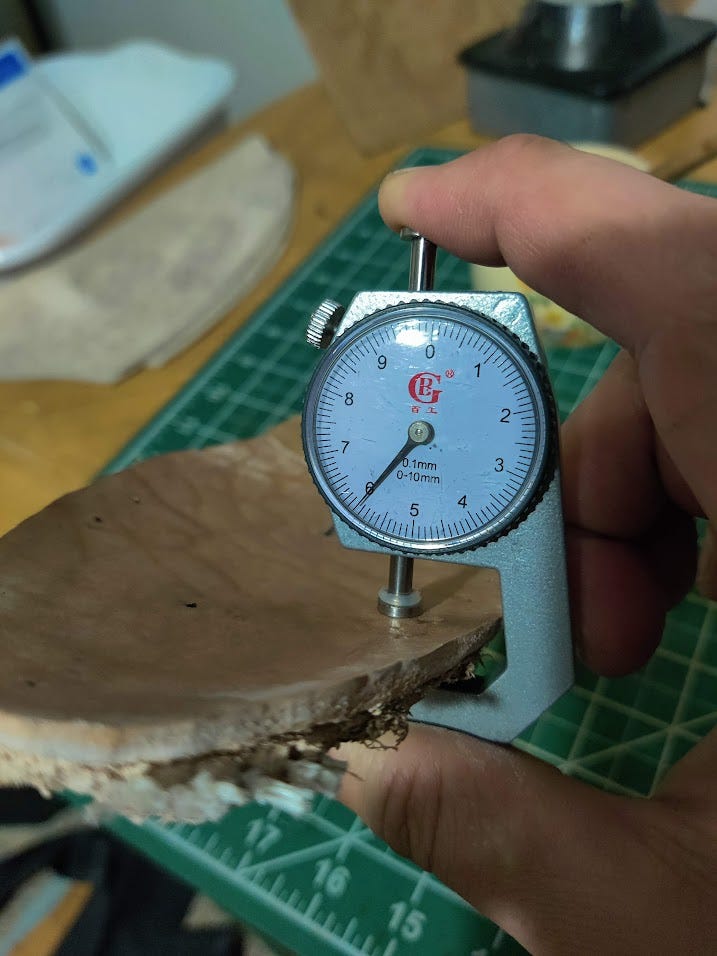
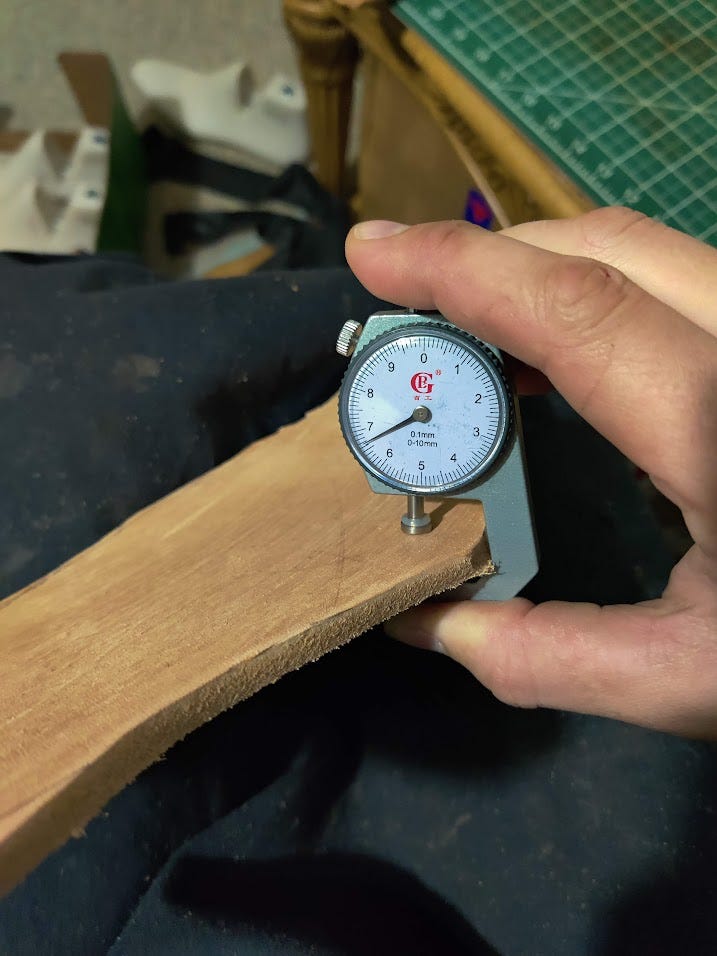
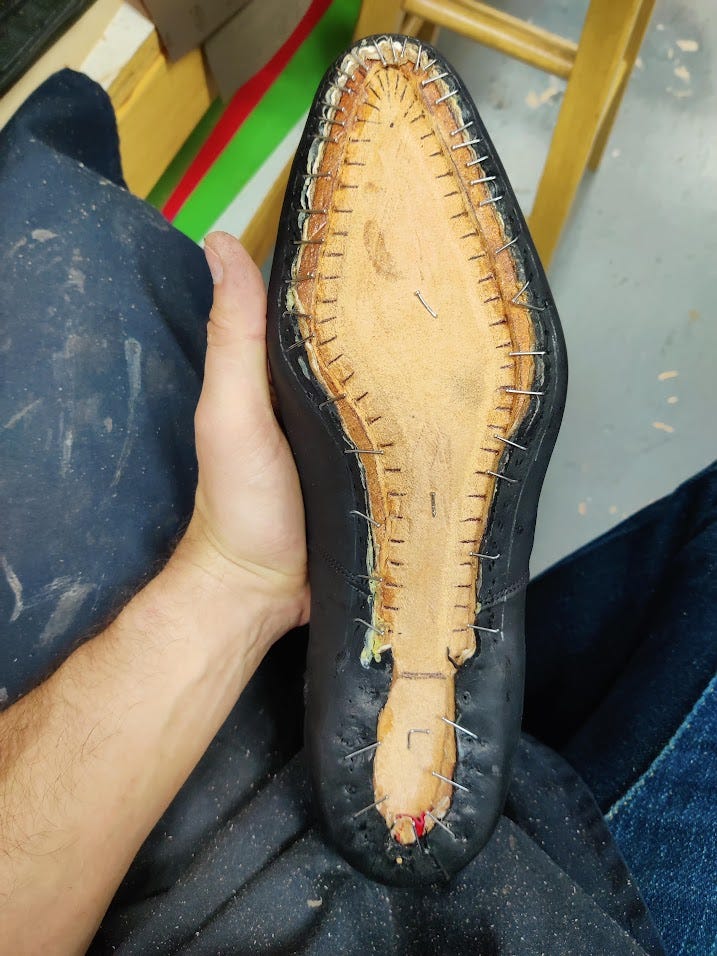
Some pics of the insole. There are several ways to welt a shoe. I use the handwelt method when I make mine, where you cut two channels in the insole to create a raised “rib” that you can stitch the welt to. Many manufacturers use a canvas rib that is glued to the insole. That method is good because you can still resole the shoe, and if the glue fails a cobbler can always attach a new rib to it. The downside to that method is there is a temptation to use a much thinner insole, or just use something synthetic for it instead of leather. I chose a method that cuts into the side of the insole, that leather is then peeled back and the welt is stitched directly to the insole that way. The only real advantage this has to the canvas rib is that you can’t cheap out on the insole. You have to use 5+ mm veg tan at least to have a reasonably strong material to stitch to, in this case its 6 mm which should be both comfortable and long lasting.
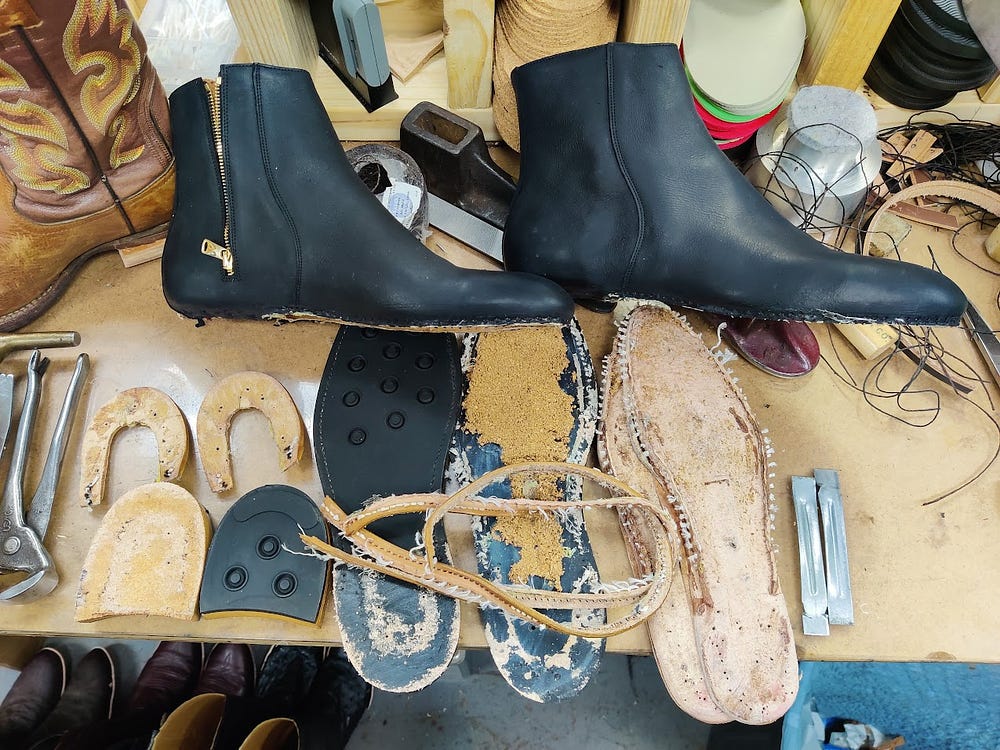
And here are all of the components to making a shoe. It took me about an hour and a half to disassemble as a complete novice. Amazing, considering how long it takes to build them. From here on is a photo dump of the rebuild process. I document all of these steps in the other guides, but as always, if you have questions hit me up.


Yikes! Barely had enough upper on the toe. This is due to the difference in insoles, the originals had the peeled back rib very close to the edge, I put mine about 6 mm in. Incidentally, so much easier to last when the upper already conforms to the shape.


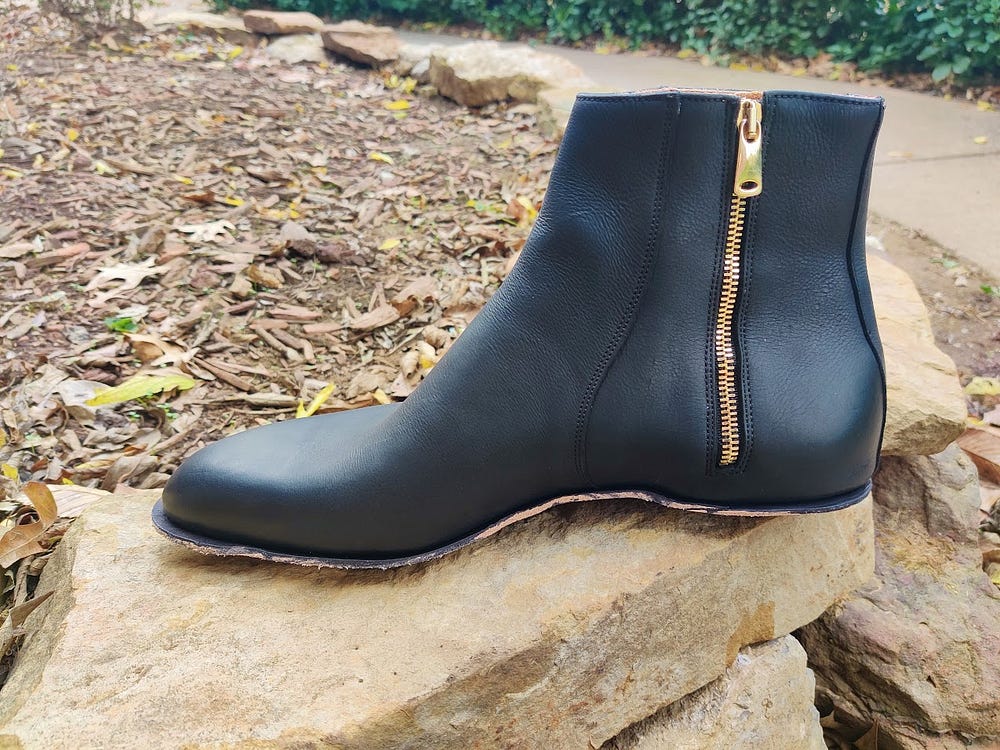
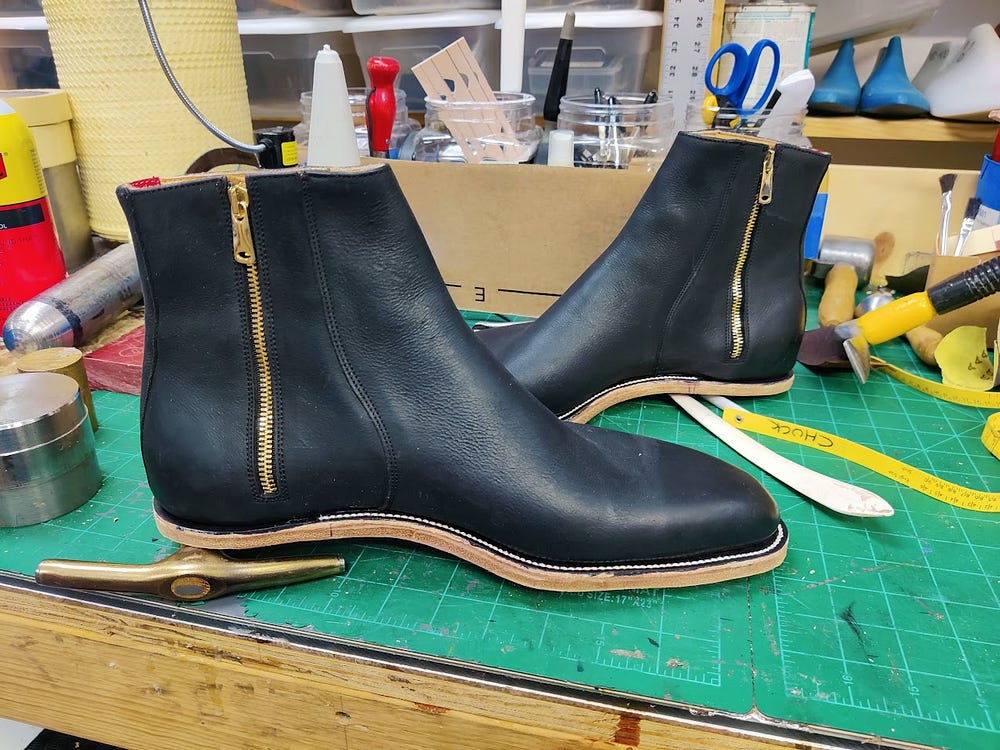

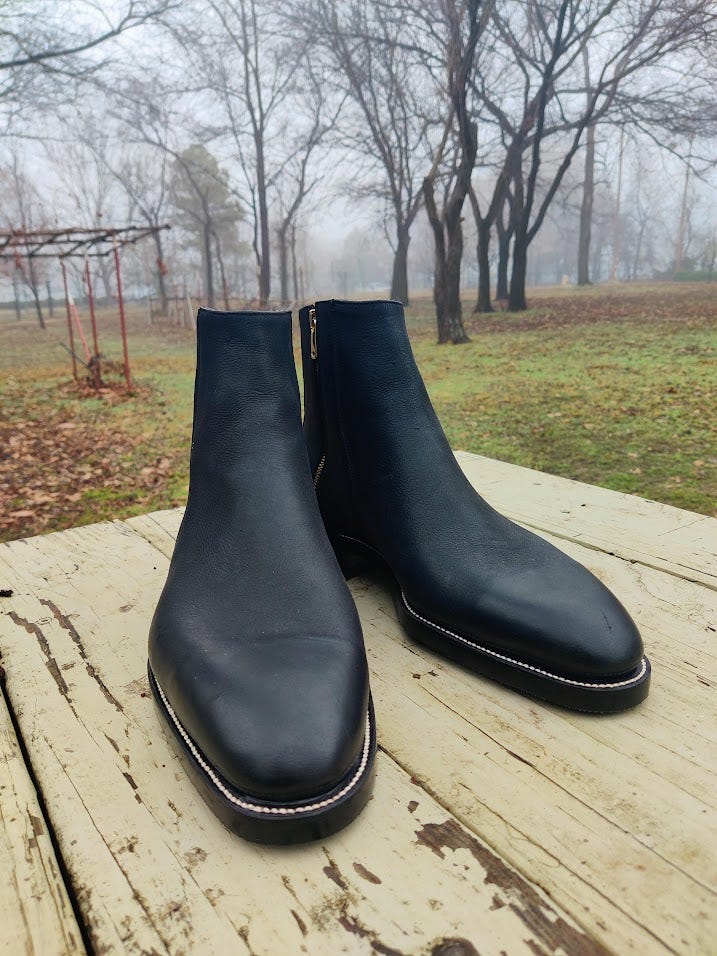
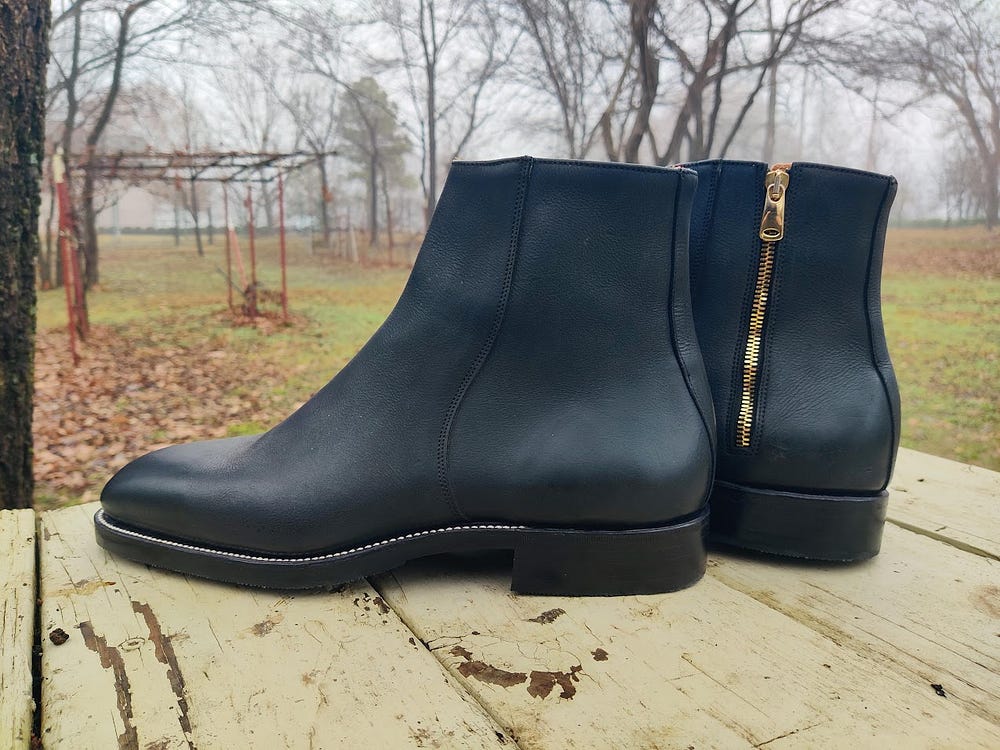
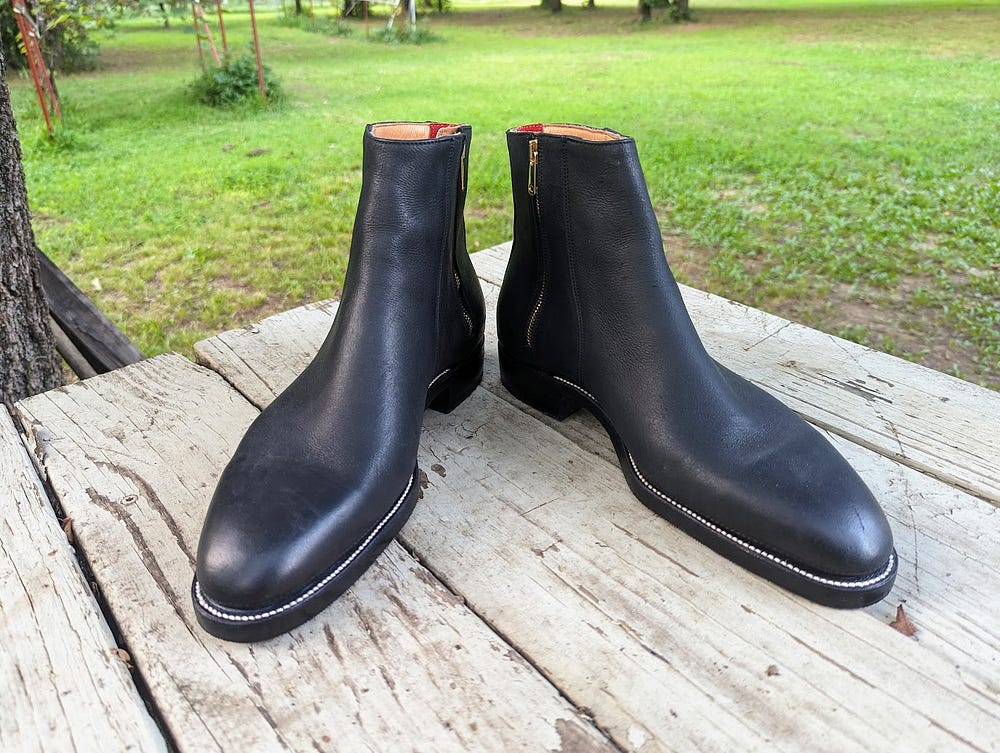
End result, quite pleased with how they turned out! The beauty of this last and style is that you can change the look completely by changing some details. Here, I went for a sleek and elegant look with black on black and a leather sole.
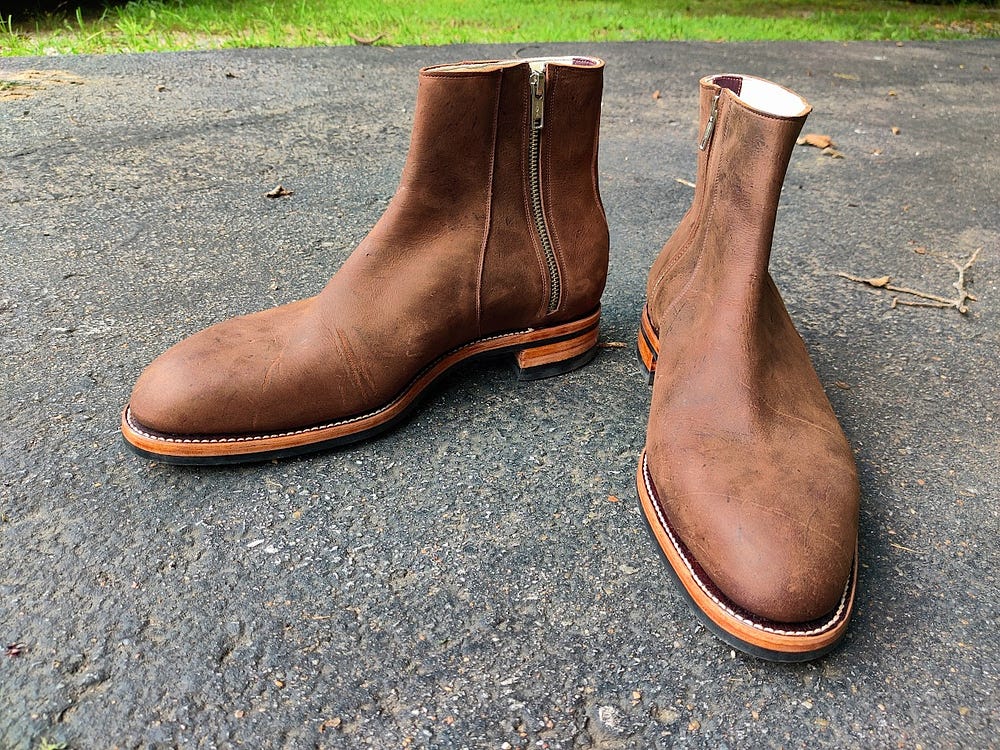
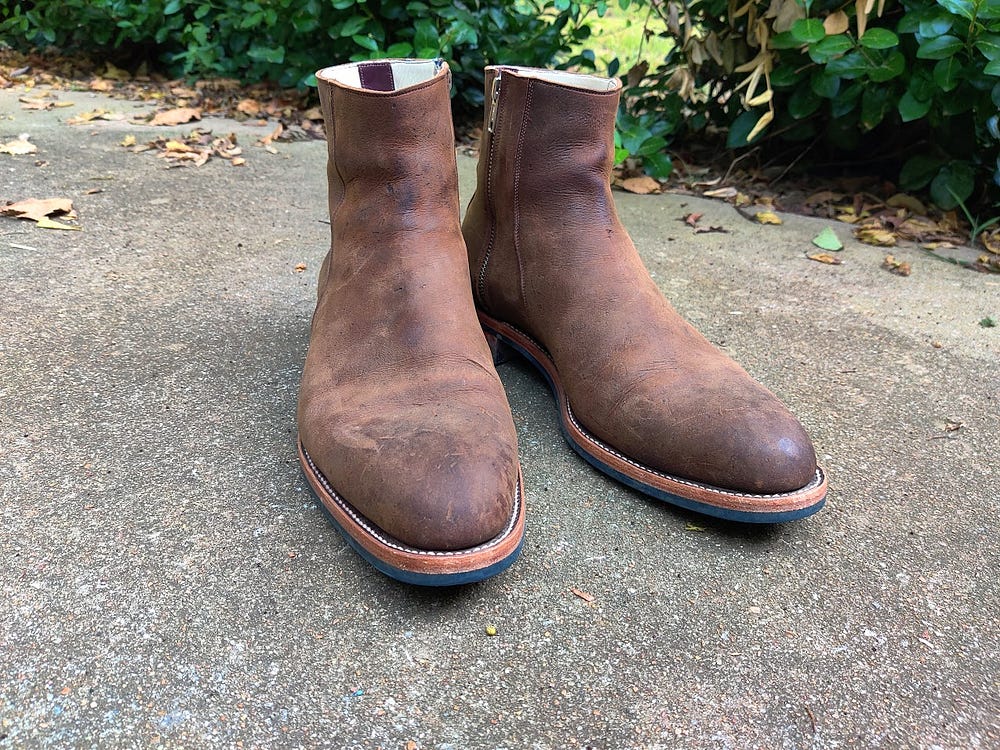

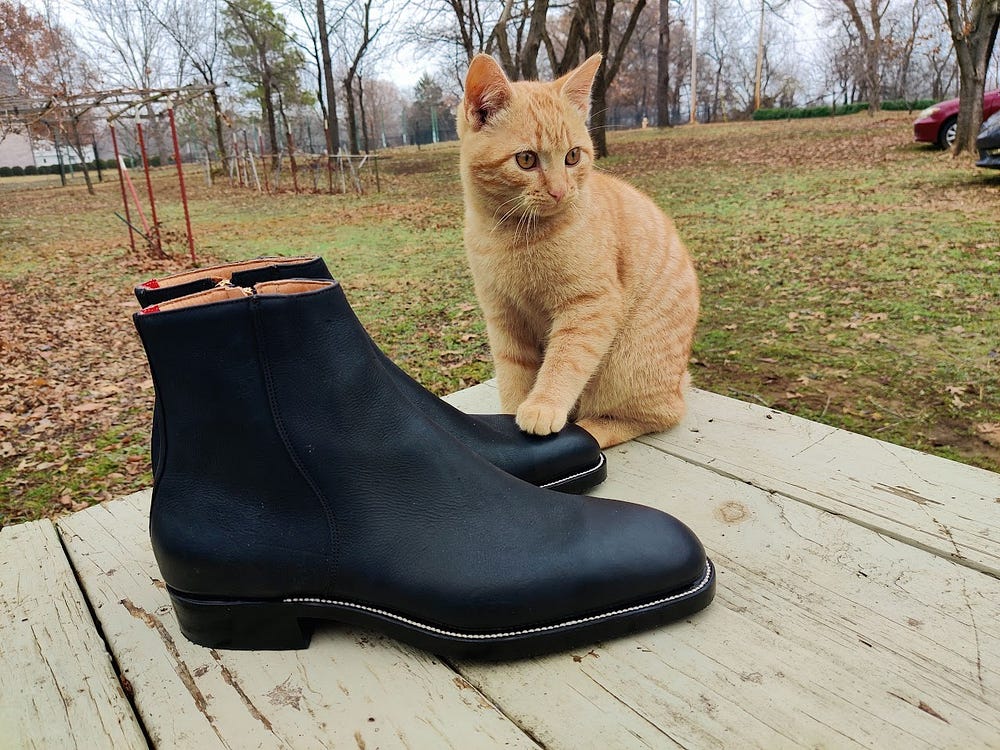
Here is a more casual look with Snuff Waxy Retan Kudu, which is what one of the options will be for Ready to Wear boots (Russet!). Pictured new, and well worn. Yeah, this post has strayed into self promotion territory, but I can’t help myself - pretty stoked to see this become a reality!
To keep up with my current projects, give my Instagram page a follow
1 comment
Hello i would like to ask what kind of machine you are using to split and fold the insole along the edge to create the rib on which the welt is sewn. I have some vintage Italian military boots that are made this way. They are storm welted with 5mm split insoles where the welt is sewn. The welt is attached over the upper leather and then both layers are flaired outwards and stiched down to a 3mm leather midsole. Interestingly they have the same thick leather used as a filling material in the cavity between the insole and the midsole along with a leather strip as a shank. I have removed their soles cause the rubber outsoles where polymerised and hardened completely and wanted to upgrade the midsoles with new 5mm veg leather and make them a bit more dressy with slimmer rubber outsoles. I always got amazed by their great craftmanship and material quality for generic military issue boots. And just kept wondering how they prepared those insoles for welt attachement.